

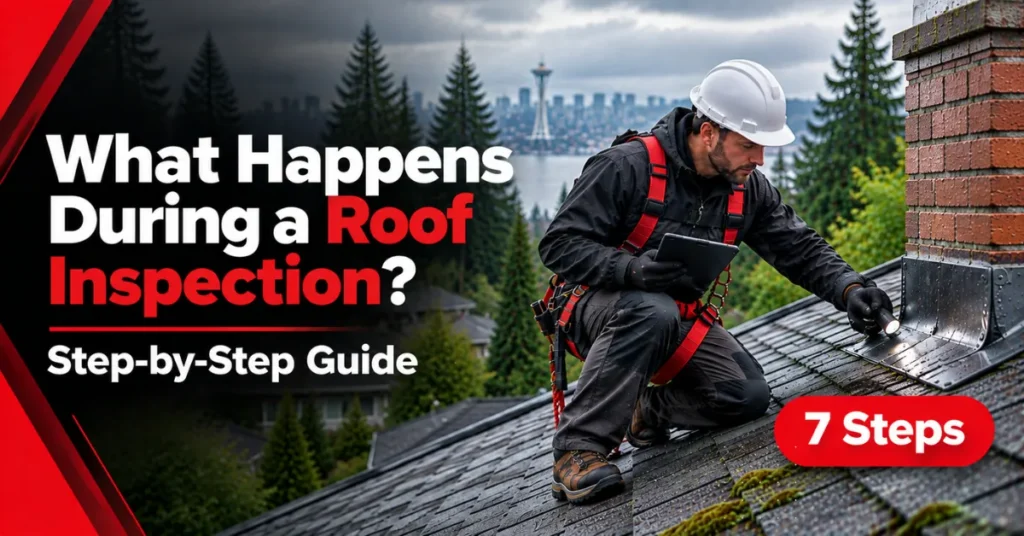
A professional roof inspection is a structured, top-to-bottom check of your roof’s surface, flashing, drainage, and attic. It usually takes 30 to 90 minutes for a typical home and ends with photos and a written summary of what the inspector found and what to do about it.
If you’ve never had one done, it’s normal to wonder what the inspector is actually doing up there. Knowing the process helps you spot a thorough contractor, avoid a rushed one, and get real value from the visit. This guide walks through each stage, from the first look at your property to the final report.
Key Points
- A professional roof inspection checks the surface, flashing, gutters, attic, and moss, and ends with a photo report.
- Most home inspections take 30 to 90 minutes, plus time for the written report.
- The inspector starts on the ground, then checks shingles for cracks, curling, missing pieces, and granule loss.
- Flashing around chimneys, vents, and skylights gets close attention because it is a common leak source.
- A real inspection includes the attic, where stains, mold, daylight, and poor ventilation show up early.
- A good report has labeled photos, remaining roof life, and repairs ranked as urgent, soon, or monitor.
- Red flags: no attic check, no photos, a 10-minute visit, or pressure to sign the same day.
Before the Inspection Starts
A good inspection begins with a conversation, not a ladder. The inspector should ask about:
- Roof age and material. Knowing whether you have asphalt shingles, metal, or tile tells them what wear patterns to look for. If you’re unsure, our overview of the different types of roofs can help you identify yours.
- Past repairs or leaks. Previous patches are often where new problems start.
- Why you called. A routine annual check, a storm, a stain on the ceiling, or a home sale each shifts the focus slightly.
- Your goal for the report. If you need documentation for an insurance claim or a buyer, say so up front so the inspector captures the right detail.
If you’re still comparing prices, our breakdown of how much a roof inspection costs in Seattle explains what drives the fee and which inspection type fits your situation.
Step 1: The Exterior Walk-Around
Before anyone climbs onto the roof, the inspector walks the property and looks at the roof from the ground, often with binoculars. This first pass catches things that are easy to miss up close, such as:
- Sagging or uneven roof lines
- Streaks, dark patches, or heavy moss growth
- Missing or shifted shingles
- Debris from nearby trees
- Damage to siding, fascia, or soffits that points to a water problem above
The ground check also helps the inspector plan the safest way onto the roof. Steep pitches, wet surfaces, and fragile materials may call for a drone or a different approach instead of walking the surface.
Step 2: Inspecting the Roof Surface
This is the core of the visit. On a shingle roof, the inspector looks closely at the condition of the roofing material across every slope. They check for:
- Cracked, curled, or lifted shingles. Curling edges mean the shingle is losing its grip and its ability to shed water.
- Missing shingles. Wind often removes them one or two at a time, which is easy to overlook from the street.
- Granule loss. Those small stone granules protect the shingle from sun and rain. Bare patches and heavy granule buildup in your gutters signal an aging roof.
- Blistering or bruising. Hail or impact damage can leave soft spots that fail months later.
- Exposed or popped nails. These create small openings for water.
On metal roofs, the focus shifts to fasteners, seams, panel condition, and coating wear. If you have a metal roof, our guide to maintaining a roof in harsh weather explains how seasonal exposure affects each material.
The inspector will also note how the roof’s age lines up with its condition. A roof can look fine on the surface and still be near the end of its service life, which is why it helps to know the average lifespan of a residential roof before the visit.
Step 3: Checking Flashing and Roof Penetrations
Flashing is the thin metal that seals the joints where your roof meets a wall, chimney, skylight, or vent. It’s one of the most common places for leaks, so a thorough inspector spends real time here.
They look at:
- Chimney flashing, including the base, the sides, and the counter-flashing above
- Vent pipes and boots, where rubber seals crack and split over time
- Skylights, including the curb and surrounding seal
- Valleys, where two roof slopes meet and water runs heavily
- Roof-to-wall transitions, such as a dormer or second-story wall
Rust, gaps, lifted edges, and dried-out sealant are all warning signs. Most flashing problems are inexpensive to fix when caught early. If your inspector flags the chimney area, our guide to chimney flashing repair explains what the repair involves and why it shouldn’t wait.
Step 4: Gutters, Downspouts, and Drainage
Water has to leave the roof efficiently, or it backs up under the shingles and into the fascia. The inspector checks that gutters are attached securely, sloped correctly, and free of clogs. They also look for:
- Sagging or pulling-away sections
- Granules, moss, or debris collecting inside
- Downspouts that dump water too close to the foundation
- Overflow marks on the siding below
Undersized or poorly placed gutters are a surprisingly common cause of recurring roof edge damage. If yours overflow during heavy rain, choosing the right gutter size for your roof is a worthwhile upgrade to discuss after the inspection.
Step 5: The Attic Inspection
Many homeowners don’t realize that a real inspection goes inside, not just on top. The attic shows what the roof surface can’t, because water leaves evidence underneath long before it reaches your ceiling.
In the attic, the inspector looks for:
- Water stains on the underside of the roof deck or rafters
- Mold or mildew, which indicates ongoing moisture
- Daylight coming through gaps in the decking
- Wet or compressed insulation
- Sagging, soft, or darkened wood
- Ventilation problems, such as blocked soffit vents or missing airflow
Poor ventilation is a hidden roof killer in the Pacific Northwest. Trapped warm, damp air breeds condensation and mold, and it shortens the life of your shingles from below. If an inspector skips the attic entirely, treat that as a red flag, because it means the inspection is only half done.
Step 6: Assessing Moss, Algae, and Seattle-Specific Issues
In Seattle, moss and algae get their own line on the checklist. The damp, mild climate lets moss take hold in shaded areas, where it lifts shingle edges, holds moisture against the roof, and speeds up deterioration.
The inspector will note where growth is concentrated, whether it’s cosmetic or already causing damage, and what treatment or cleaning is appropriate. They’ll also look at tree overhang, since shade and falling debris make moss problems worse.
Local weather conditions matter beyond moss, too. Wind-driven rain, heavy fall storms, and long wet seasons all stress a roof differently than in drier regions, which is why a seasonal tune-up pays off. Our fall roof maintenance checklist for Seattle homeowners covers what to handle before the rainy months arrive.
Step 7: Photos, Notes, and the Written Report
A professional inspection doesn’t end when the inspector climbs down. The findings need to be documented clearly. A solid report includes:
- Photos of every problem area, labeled by location
- A condition summary for the roof surface, flashing, gutters, and attic
- Estimated remaining life based on age and wear
- Recommended repairs, ranked by urgency
- Notes for insurance or real estate use, if requested
The best reports sort findings into three groups: urgent, address soon, and monitor. That structure lets you plan your budget instead of facing a vague warning and a big number. Always ask for the report in writing, because a verbal “it looks fine” won’t help you with an adjuster or a buyer.
How Long Does a Roof Inspection Take?
Most residential inspections take 30 to 90 minutes on site. The written report may take another few hours or a day. Several things affect timing:
- Roof size and complexity. Multiple levels, dormers, and steep slopes add time.
- Access. Hillside lots and tight spaces slow everything down.
- Method. Drone and thermal inspections add setup and review time.
- Attic access. Hard-to-reach attics take longer to check properly.
- Problems found. More damage means more documentation.
Commercial roofs take longer because of their size, drainage systems, rooftop equipment, and membrane seams. Property managers can see how we approach larger buildings on our commercial roofing page.
How to Prepare for Your Roof Inspection
A little preparation saves time and improves the results:
- Clear access to the attic hatch and move any stored items out of the way.
- Trim back low branches touching the roof if you can do so safely.
- Gather paperwork, such as past repair invoices, warranty documents, or the roof’s installation date.
- Write down your concerns, including where you’ve noticed stains, drips, or noises.
- Secure pets and let neighbors know if a drone will be flying.
You don’t need to be on the roof or even home for the entire visit, but being present for the final walkthrough lets you ask questions while the findings are fresh.
What Happens After the Inspection?
Your inspector should walk you through the results in plain language and give you a clear next step. Most outcomes fall into one of these:
- Everything looks good. You schedule your next check for the following year.
- Minor issues. Small fixes like resealing flashing, replacing a few shingles, or clearing moss are handled through roof repair.
- Storm or wind damage. If the inspection finds damage from a recent storm, the photos and report support your insurance claim, and our storm damage service can help you document it.
- End of life. If the damage is widespread or the roof has reached the end of its service life, replacement may make more sense than repeated repairs. Our guide to roof replacement vs. roof overlay can help you weigh your options, and a full roof replacement is the long-term fix when the structure is failing.
Whatever the result, you should never feel pressured to decide on the spot. A trustworthy contractor gives you time to review the report and compare quotes.
Signs of a Rushed or Unreliable Inspection
Not every inspection is created equal. Watch out for these warning signs:
- The inspector never goes into the attic
- No photos are provided, or the photos are generic
- The visit lasts only 10 to 15 minutes
- You’re told the roof needs full replacement but shown no evidence
- There’s pressure to sign a contract the same day
- No license, insurance, or local references are offered
Before you hire anyone, it helps to know the questions to ask before hiring a roofer in Seattle. A few minutes of vetting protects you from overpaying or approving work you don’t need.
FAQa
What does a roof inspector look for?
Inspectors check the roof surface, flashing, vents, gutters, attic, and structural signs. They look for missing or damaged shingles, leaks, moisture, mold, rot, and poor ventilation.
How long does a professional roof inspection take?
A typical home takes 30 to 90 minutes on site, plus time to prepare the written report. Larger or more complex roofs take longer.
Do I need to be home during the inspection?
Not for the whole visit, but being there for the final walkthrough helps. You can ask questions and see the findings directly.
Will the inspector go in my attic?
A thorough one will. The attic often shows leaks, mold, and ventilation problems that can’t be seen from outside.
Is a drone inspection as good as a walk-on inspection?
Drones are excellent for steep, tall, or fragile roofs and provide strong photo documentation. For flashing details and attic checks, inspectors usually combine them with hands-on work.
How often should I schedule a roof inspection?
At least once a year, ideally in early fall, and after any major storm.
What should be in the final report?
Photos, a condition summary, estimated remaining life, and recommended repairs ranked by urgency.
Schedule a Roof Inspection With Epic Roofing
At Epic Roofing, every inspection follows the process described above: a full exterior check, a close look at the roof surface and flashing, an attic review, and a written report with photos and priorities. We explain what we find in plain language and never push work you don’t need. You can learn more about our roof inspection service in Seattle, and homeowners on the Eastside can book through our Bellevue roof inspection page.
Ready to get started? Contact Epic Roofing to schedule your inspection.