

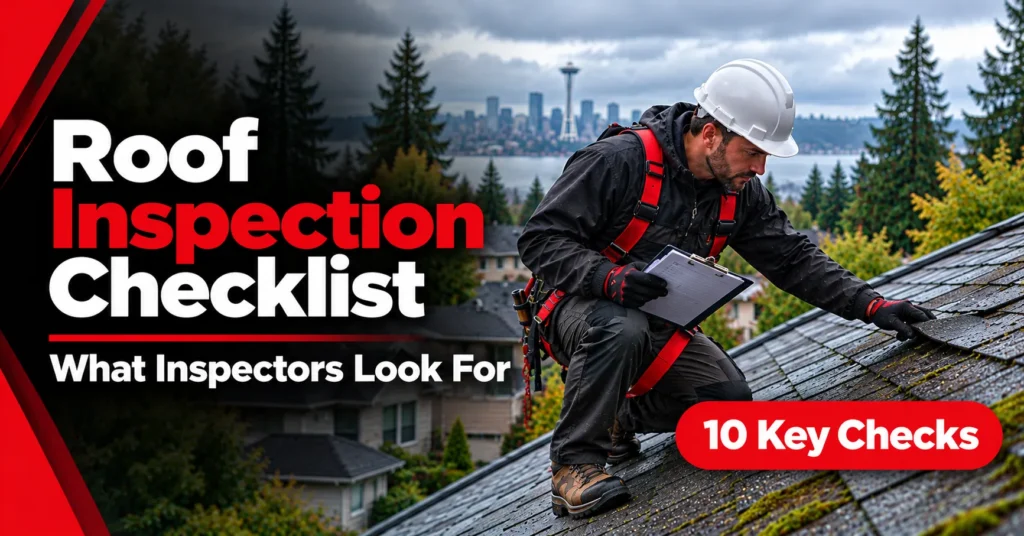
A roof inspection checklist is the list of items a professional checks to judge your roof’s condition: the roof surface, flashing, gutters, vents, attic, and structure. A thorough inspector covers every item, documents each one with photos, and ranks problems by urgency.
Whether you’re hiring an inspector, preparing for a home sale, or checking your own roof from the ground, this checklist shows what matters and why. It also helps you spot an inspector who rushes the job and skips the details that protect your home.
Key Points
- A roof inspection checklist covers the roof surface, flashing, vents, gutters, moss, attic, and structure.
- Flashing and vent boots are the most common leak points and are cheap to fix early.
- A real inspection includes the attic, where stains, mold, and poor ventilation show up first.
- Seattle’s damp climate makes moss and drainage checks essential.
- Inspect once a year in early fall and after any major storm.
- You can safely check from the ground and attic, but leave the roof itself to a professional.
- Always get a written report with photos and repairs ranked by urgency.
Roof Inspection Checklist at a Glance
| Area | What the Inspector Checks |
|---|---|
| Roof surface | Cracked, curled, missing, or worn roofing material |
| Flashing | Chimneys, vents, skylights, valleys, wall joints |
| Gutters and drainage | Clogs, sagging, slope, downspouts |
| Moss and algae | Growth, shaded areas, moisture retention |
| Attic | Stains, mold, daylight, insulation, ventilation |
| Structure | Sagging, soft spots, rot, uneven lines |
| Roof edges | Fascia, soffits, drip edge |
| Documentation | Photos, written report, ranked repairs |
The sections below explain each item and what a problem looks like.
What Does a Roof Inspection Checklist Cover?
A thorough roof inspection goes beyond checking whether shingles look intact from the ground. A professional inspector evaluates the roofing system from the surface to the attic, paying close attention to areas where water can enter, drainage can fail, or hidden damage can develop. The following checklist covers the major areas typically reviewed during a residential roof inspection in Seattle.
Roof Surface
The roofing material is your first line of defense, so this is where most of the inspection time goes. On an asphalt shingle roof, inspectors look for:
- Missing shingles. Wind often removes them one or two at a time, so gaps are easy to miss from the street.
- Cracked or split shingles. These let water reach the underlayment.
- Curling or cupping. Edges that lift or bowl show the shingle is aging and losing its seal.
- Granule loss. Bare patches and heavy granule buildup in the gutters mean the protective surface is wearing away.
- Blistering or bruising. Impact or heat damage creates soft spots that fail later.
- Popped or exposed nails. Even one can create a leak path.
Different materials fail in different ways. Tile cracks, slate slips, and metal loosens at the fasteners, so the type of roof you have shapes what the inspector looks for. On standing seam or corrugated metal, expect a close check of seams, screws, panel edges, and coating wear.
Flashing
Flashing is the thin metal that seals the places where your roof meets something else. It’s a leading cause of leaks, and the failure is often small and cheap to fix when caught early.
Checklist items:
- Chimney flashing at the base, sides, and counter-flashing
- Skylight curbs and seals
- Roof-to-wall joints, such as dormers and second-story walls
- Valleys where two slopes meet
- Step flashing along walls
Rust, gaps, lifted edges, and dried sealant all count as warning signs. If the chimney is flagged, our guide to chimney flashing repair explains what the fix involves and why delay costs more.
Vents, Pipes, and Penetrations
Every hole in your roof is a potential leak. Inspectors check:
- Plumbing vent boots. The rubber collar around the pipe cracks and splits with age, often before the shingles do.
- Exhaust vents and roof vents. Look for rust, loose covers, and damaged seals.
- Satellite dish or antenna mounts. Past installations often leave unsealed holes.
- Solar panel mounts. Attachment points need to stay sealed. If you’re considering panels, see how it works on a metal roof in Seattle.
Gutters, Downspouts, and Drainage
A roof only works if water leaves it quickly. Inspectors check that gutters are attached securely, sloped toward the downspouts, and free of debris. They also look for:
- Sagging or separating sections
- Granules, moss, or leaves packed inside
- Downspouts that discharge too close to the foundation
- Overflow stains on the siding below
If gutters overflow during heavy rain, they may be too small for the roof. Our article on choosing the right gutter size for your roof helps you plan an upgrade once the inspection is done.
Moss, Algae, and Debris
In Seattle, this item deserves its own line on the checklist. The damp, mild climate lets moss take hold, especially on shaded slopes. Moss lifts shingle edges, holds moisture against the surface, and speeds up wear.
The inspector will note:
- Where growth is concentrated
- Whether it’s cosmetic or already causing damage
- How much overhanging tree cover shades the roof
- Piles of needles, leaves, or branches in valleys and behind chimneys
Debris in valleys is a hidden problem because it blocks water flow and forces moisture under the shingles.
Attic and Underside
The attic shows what the roof surface can’t. Water leaves evidence underneath long before a stain reaches your ceiling.
Checklist items:
- Water stains on the roof deck or rafters
- Mold or mildew
- Daylight coming through gaps in the decking
- Wet, compressed, or missing insulation
- Dark, soft, or sagging wood
- Blocked soffit vents and poor airflow
Ventilation matters more than most homeowners realize. Trapped warm, damp air causes condensation and mold, and it shortens shingle life from below. If an inspector never goes into the attic, the inspection is only half done.
Structure and Roof Lines
From the ground and from the attic, inspectors look at the roof’s overall shape. They check for:
- Sagging ridgelines or uneven slopes
- Soft or spongy spots in the decking
- Rot at the eaves
- Signs of past water damage or old repairs
Structural problems usually mean water has been getting in for a long time. They change the conversation from a simple repair to a larger plan.
Fascia, Soffits, and Roof Edges
The roof edge is where water first hits when it misbehaves. The inspector looks at:
- Fascia boards for rot, peeling paint, or stains
- Soffits for water damage or pest entry
- Drip edge for gaps or rust
- Siding below the roofline for streaks and moisture marks
Damage here often points back to a gutter or flashing issue, so these items tie the checklist together.
Roof Age and Remaining Life
An honest inspection also estimates how much life your roof has left. A roof can look acceptable on the surface and still be near the end of its service life. Knowing the average lifespan of a residential roof lets you budget and plan instead of reacting to an emergency.
Climate shortens that number in the Pacific Northwest. Constant moisture, wind, and shade all add wear, which is why maintaining a roof in harsh weather matters as much as the inspection itself.
Photos and the Written Report
A checklist is only useful if it’s documented. A professional report should include:
- Labeled photos of every problem area
- A condition summary for each part of the roof
- Estimated remaining life
- Repair recommendations ranked by urgency: urgent, address soon, monitor
- Notes for insurance or real estate use, if you need them
Always ask for the report in writing. A verbal “it looks fine” carries no weight with an insurance adjuster or a buyer.
Seasonal Roof Inspection Checklist for Seattle
Timing changes what you look for. Use this as a simple yearly rhythm.
Early fall (before heavy rain):
- Clear gutters and downspouts
- Remove debris from valleys
- Check flashing and sealant
- Trim branches touching the roof
Our fall roof maintenance checklist for Seattle homeowners walks through these tasks step by step.
After a major storm:
- Look for missing or lifted shingles
- Check for debris impact
- Inspect the attic for new stains
If you find damage, a storm damage inspection can document it for an insurance claim.
Spring:
- Check for winter moss growth
- Look for cracks or lifted sealant
- Inspect for leaks in the attic
What You Can Safely Check Yourself
You can do a basic version of this checklist without climbing onto the roof. From the ground, with binoculars, look for missing shingles, sagging lines, moss, and clogged gutters. From inside, check the attic with a flashlight for stains, daylight, and damp insulation.
Don’t walk on a wet or steep roof. Falls are one of the leading causes of serious home-maintenance injuries. If something looks wrong, call a professional.
Warning Signs You Need an Inspection Now
Don’t wait for your annual check if you notice:
- Water stains on ceilings or walls
- Granules collecting in the gutters
- Daylight visible in the attic
- Curling, cracked, or missing shingles
- A sudden rise in your energy bills
- Musty odors in the attic or upper rooms
If water is actively coming in, call for emergency roofing right away and protect your belongings while you wait.
What Happens After the Checklist?
Once the inspection is complete, you’ll usually land in one of these situations:
- No action needed. Re-check next year.
- Minor issues. Resealing flashing, replacing a few shingles, or clearing moss is typically handled through roof repair.
- End of life. If damage is widespread, roof replacement vs. a roof overlay is the next question, and a full roof replacement is the long-term fix.
If the quote feels high, get a second opinion. It also helps to know the questions to ask before hiring a roofer in Seattle before you commit.
FAQs
What does a roof inspector look for?
Inspectors check the roof surface, flashing, vents, gutters, attic, moss, structure, and roof edges. They look for missing or damaged materials, leaks, moisture, mold, rot, and poor ventilation.
How long does a roof inspection take?
Most homes take 30 to 90 minutes on site, plus time for the written report. Larger or more complex roofs take longer.
Do inspectors go in the attic?
A thorough one does. The attic often shows leaks, mold, and ventilation problems that can’t be seen from outside.
How often should I use a roof inspection checklist?
Have a professional inspect at least once a year, ideally in early fall, and after any major storm. Quick visual checks from the ground can happen seasonally.
Can I use this checklist for a home purchase?
Yes. It’s a good guide for what a buyer’s roof inspection should cover, and the written report gives you leverage to negotiate repairs.
What’s the biggest red flag in a roof inspection?
Skipping the attic, giving no photos, and pressuring you to sign a contract the same day. A reliable inspector documents everything and gives you time to decide.
Get a Full Roof Inspection From Epic Roofing
Epic Roofing follows every item on this checklist, from the roof surface and flashing to the attic and written report. We document findings with photos, explain them in plain language, and give you a prioritized plan with no pressure. Learn more about our roof inspection service in Seattle, or contact us to schedule yours.